QuickBooks makes it easy for you to set up employees in QuickBooks Desktop Payroll. Here’s how to get started and then invite your employees to enter the rest of their info, like their bank account, etc.
Here’s how to invite your employees to enter their info and get set up in payroll.
Step 1: Invite your employee
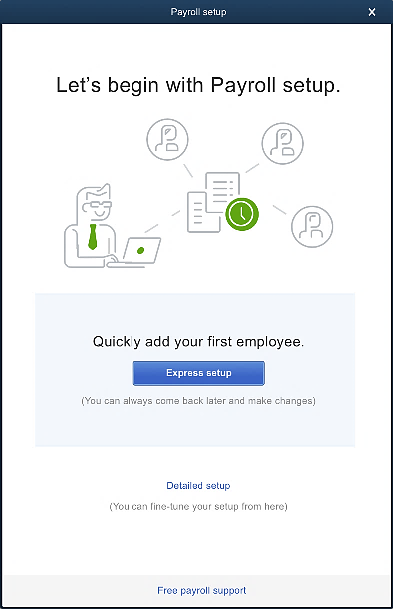
Note:The new employee self-setup experience is available to new payroll accounts who choose Express setup on the beginning screen. Feature is currently not available in Detailed setup.
- Select Express Setup.

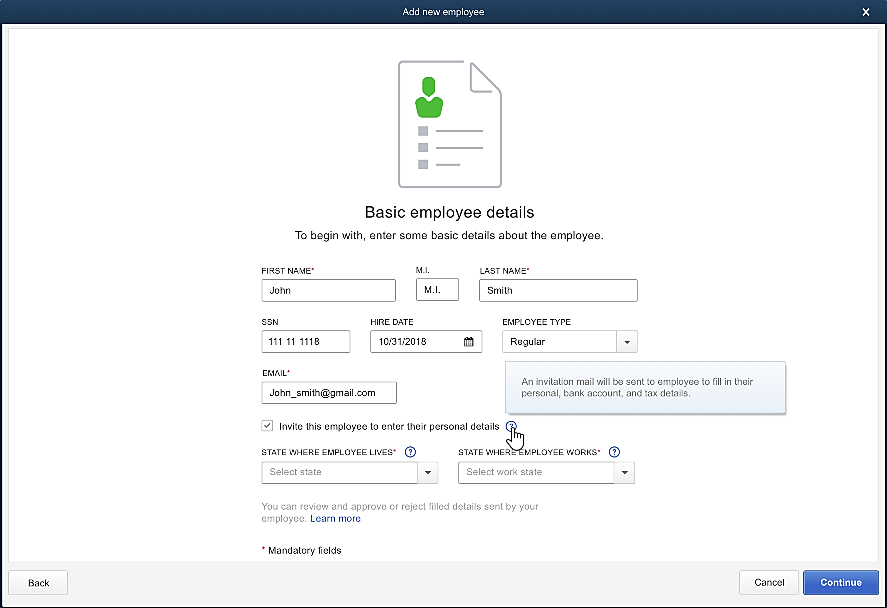
- On the Basic Employee details screen, fill out the needed information.
- Mark the Invite this employee to enter their personal details checkbox, then select Continue.

- Enter your employee’s pay details (such as wage, pay frequency, vacation, and sick accruals, etc.).
- Select Continue.
- Review the info you’ve entered, then select Finish.
An email invitation will be sent to your employee, requesting that they enter their personal info, bank account (when applicable), and tax details. Here’s how how your employees can enter their payroll info.
Step 2: View your employee’s status
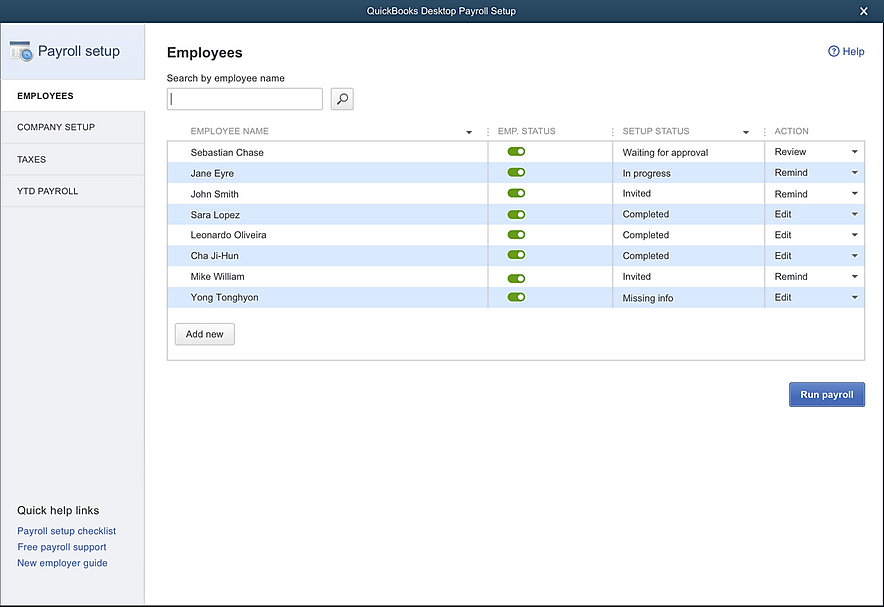
Note:You can toggle employee status to Active or Inactive in the Emp. Status column. The status is green if the employee is active while how to use employees self setup for quickbooks Desktop Payroll
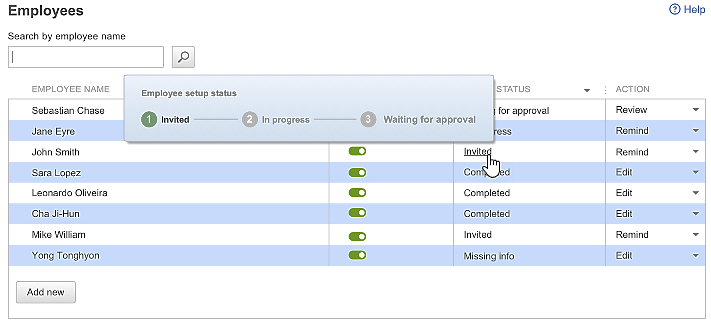
- Go the Setup Status column (this shows where your employee is with the self-setup process). Select the small arrow icon in the action column if you need to remind, cancel invite, or edit the info yourself. Refer to below chart for more info on a certain status.
Here’s a chart of the statuses and the actions you can take for each.
| Setup Status | Meaning | Actions you can take |
| Invited | Invitation has been sent, but your employee has not yet accepted it. | At this point, you can choose to either:
|
| In progress | The employee has started to fill out their information, but has not finished. | |
| Waiting for Approval | Your employee has completed all necessary information, but you have not yet reviewed the information entered by your employee. | If the info is accurate
If the info is incorrect
|
| Missing Info | The employee invite was canceled, but you have not yet finished entering the employee information. | At any time during the process, you can cancel the invitation. Select the small arrow icon in the Action column, then Cancel invite.If the employee has already started to fill out their details, you will be asked if you still want to cancel the invite. Select Yes to cancel, which will allow you to enter your employee details yourself. |
| Completed | The employee has completed all necessary information and you have reviewed and approved the entries |
.


