How to batch reclassify transactions that are not specified in QuickBooks
Learn How to use the reclassify transactions tool to batch edit transactions for your client with QuickBooks Online Accountant. How to batch Reclassify transactions that are not specified to a division in QuickBooks.
Need to change the class or move multiple transactions to a different account? QuickBooks Online Accountant saves you time so you don’t have to edit them one at a time. Use the reclassify tool to make the same changes to multiple transactions at once.
Types of transactions you can’t move
You can use the reclassify tool for most types of transactions. However, there are certain types of transactions that can’t be changed since they’re tied to specific accounts and features:
- You can change the class for invoices, sales receipts, checks, or bills with items (products or services) on them. However, you can’t change the accounts.
- You can’t change the payment account (bank or credit card) for expenses.
- You can’t change the account or class for inventory adjustments since they’re connected to your inventory shrinkage and asset accounts.
- You can change the expense account for billable expenses, but not the income account for the related income transactions.
- You can manage your payroll transactions in the Payroll menu.
Reclassify and move transactions
You can use the reclassify tool to move transactions to similar accounts or change their class completely.
- Open your client’s QuickBooks Online company. Select the briefcase (Accountant Tools) icon. Then select Reclassify Transactions.
- From the Account types drop-down menu, select Profit and Loss to see income and expense accounts. Or select Balance Sheet to see your asset, liability, and equity accounts.
- From the Account list, select the account with the transactions you want to change.
- Use the filters to set the date range, class, transaction type, customer, or vendor. Then select Find Transactions.
- Select the box for each transaction you want to change. Then select Reclassify.
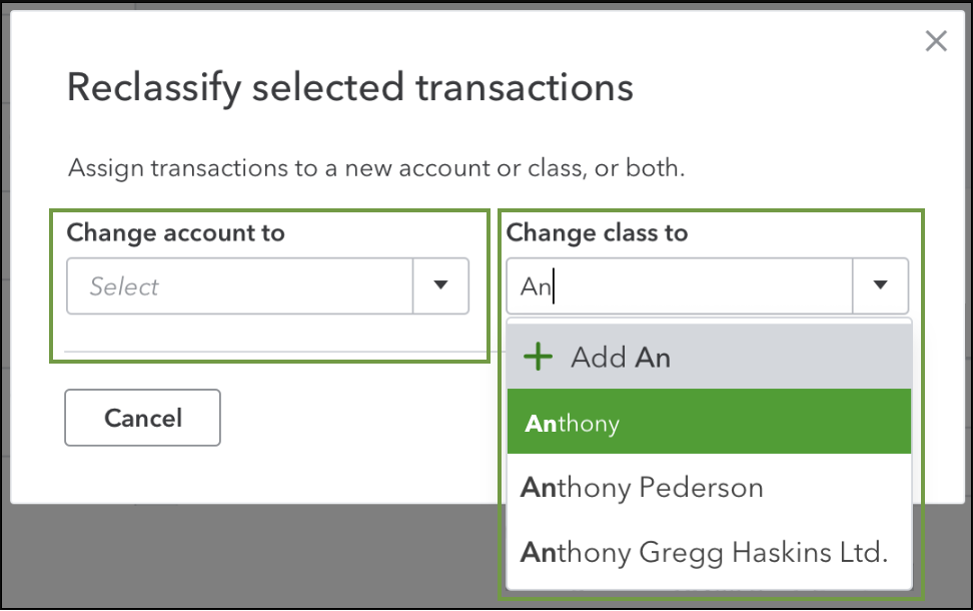
- Select a new account to move the transactions to, or a new class from the drop-downs.
- When you’re ready, select Apply.
You can also use the reclassify tool for your personal transactions in QuickBooks Online Accountant. Select the Dashboard menu. Then select the Accountant Tools (briefcase) icon and Reclassify Transactions.
Your’e good to go with How to batch Reclassify transactions that are not specified to a division in QuickBooks